How to Photograph Mats: 6 Shots Answer 6 Buyer Questions
How to photograph mats is less about camera skill than it looks. A mat is a flat, matte, low-contrast object, and the shooting angle often makes it look flatter still. Buyers are not judging your photography — they are answering six practical questions, one photo each.
Category: SellingPublished July 20265 min read
Plate 01Natural light, one window, no flash
The six questions
Photo
Question it answers
How to shoot it
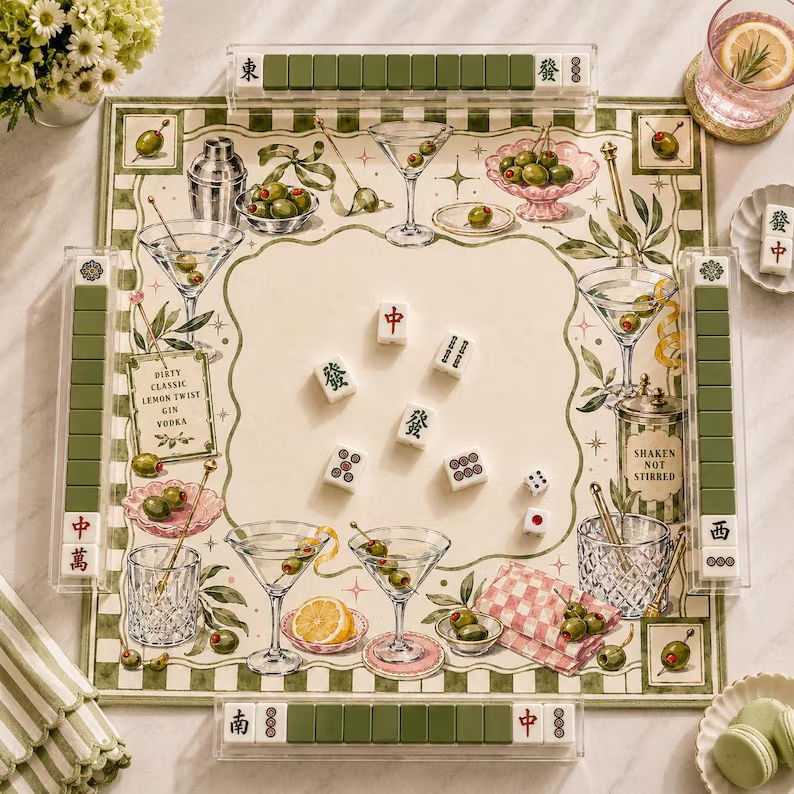
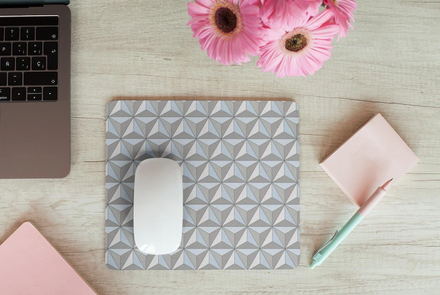
1. Flat overhead shot
What does the print look like?
Soft window light, no flash, fill the frame
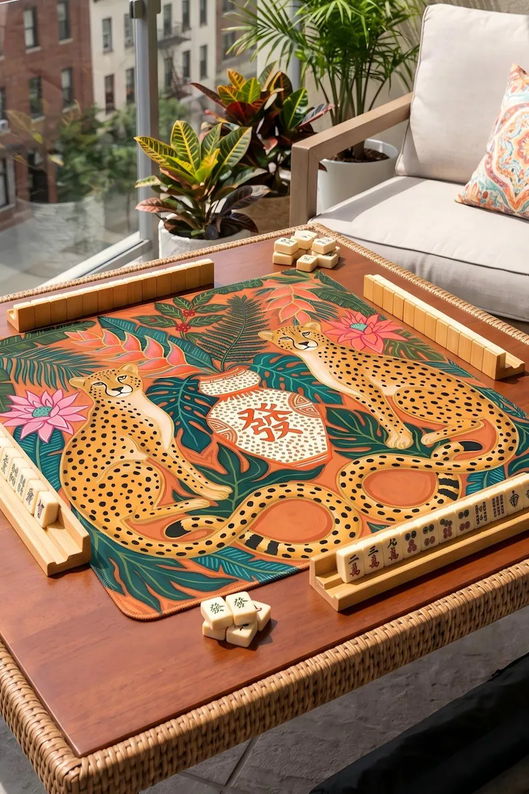
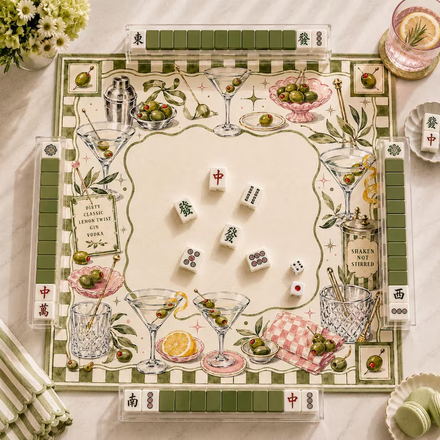
2. On-table use shot
Will it fit?
Add mahjong tiles or a keyboard, shoot low
3. Edge close-up
How well is it made?
Macro on the stitching, 45° backlight
4. Scale reference
How big is it really?
Put a tape measure or familiar object in frame
5. Texture / surface
What does it feel like?
Raking backlight across the surface, no glare
6. Packaging
What arrives?
Tube or box, opened, shot with the card
How to light a matte surface
Matte surfaces are both easy and boring: no reflections to control, no contrast to exploit. The trick is backlighting — a window grazing the surface at 20–30° makes the weave, stitching and pile all show up, and those are exactly what tell a buyer the mat has texture.
Never use direct flash. It flattens texture, blows satin binding to dead white and pushes colours toward the flash's white balance. One window and a white card on the shadow side are enough; a phone will do.
Plate 02Flat overhead shot
Why renders lose sales
Renders are fine as secondary images showing personalisation options. As the main image they look fake: no texture, no shadow, no imperfection. In a category where buyers already worry about quality, the first image has to be evidence.
Shoot the first physical sample, not the fifth revision of the design. The lighting is identical, and it also proves the product actually exists.
The scale problem
Every mat listing gets the same pre-sale question: will it fit? Put a tape measure in frame and one photo answers it, at zero shooting cost. And it ends up in reviews as "size as described" — worth more than any copy you can write.
One photo you can add todayA tape measure laid across the mat, shot from directly above, cropped tight. The cheapest conversion improvement in this category.
Plate 0445-degree angle
Gallery
On the machine floor
Plate 03
Window light01Overhead02Angled03
Frequently asked questions
Do I need a studio to photograph mats?
No. A diffused window, a white foam board on the shadow side, and a phone on a tripod. Mats are flat and matte, the easiest subject there is — the hard part is conveying scale, not light.
Can I use rendered images?
As secondary images showing personalisation options, yes. As the main image, no — renders have no texture and look fake in a category where buyers already worry about quality.
How do I get true-to-life colours?
Shoot in natural light, set white balance with a grey card and turn off auto-beautify. Then say in the listing that the mat was photographed in natural light. Most colour complaints come from shots taken under warm indoor lighting.
How do I photograph a rolled mat?
Stand it upright, shoot from slightly above the cardboard tube, and turn the printed belly band or end cap toward the camera. A mat lying curled on a table looks like a defective product.
What about video?
One 6-second clip of a hand rolling the mat up and laying it flat answers more questions than six stills. If you only shoot one video, shoot that one.
Do I need a colour calibration chart?
A grey card is enough for white balance. A full colour chart only matters if a retoucher in another room must match your files, or if you need numbers rather than eyeballing to match the mat to a brand colour.